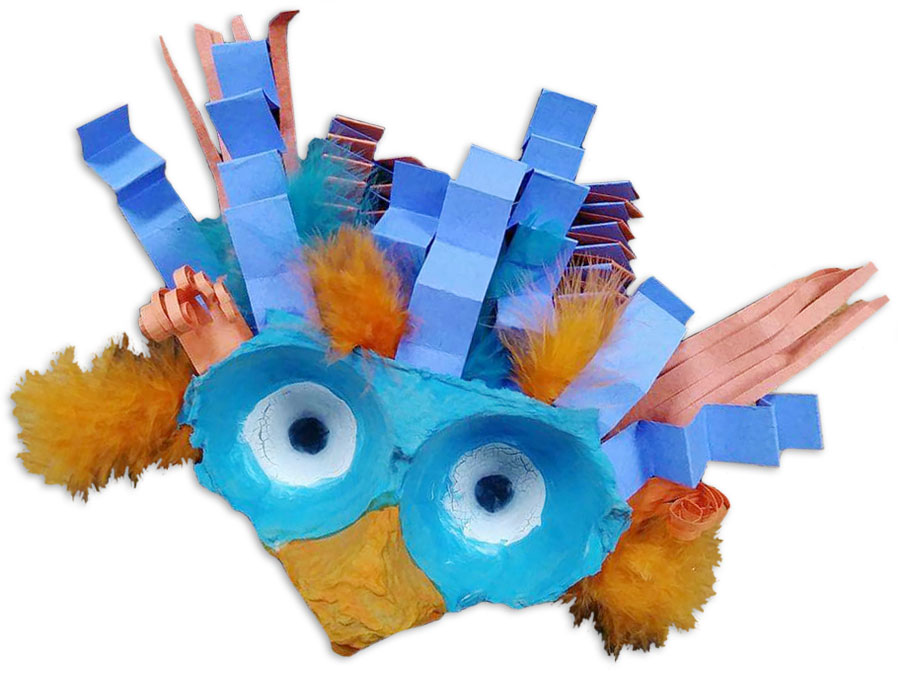
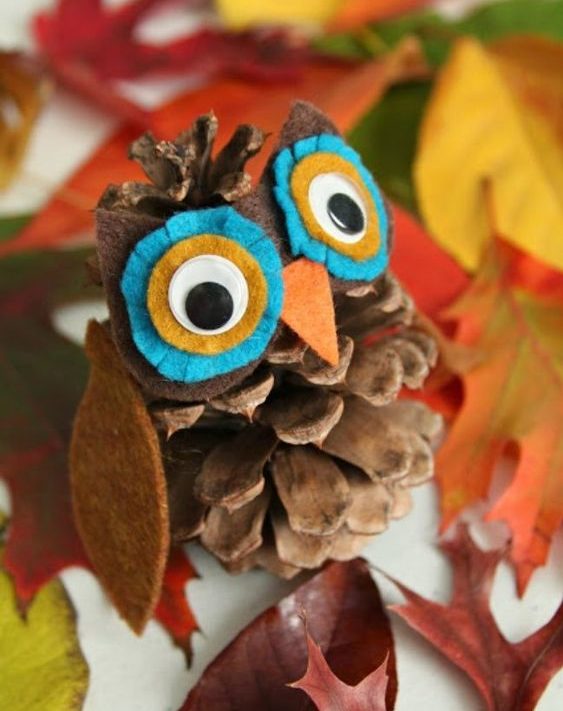
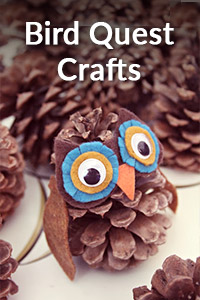
Pine Cone Owl
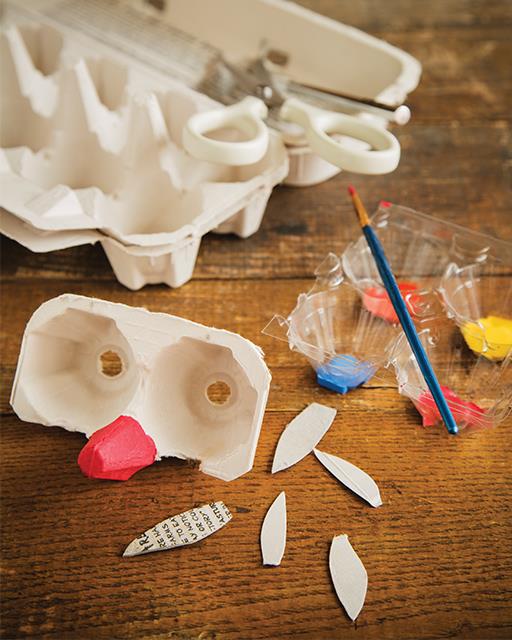
Supplies Needed:
Steps:
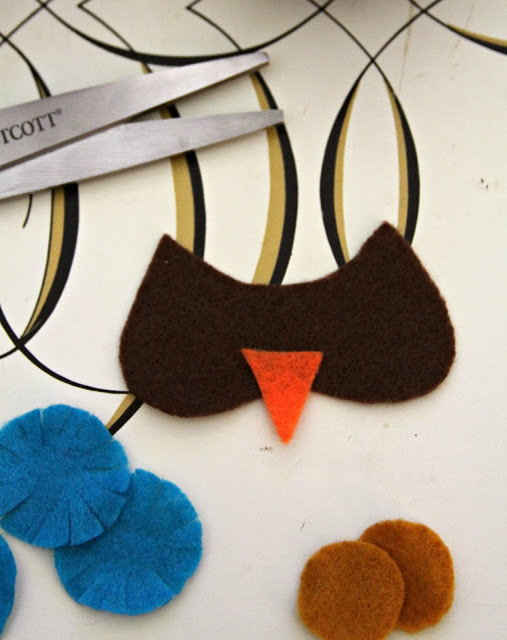
First, cut out your felt. You can mix up the colors any way you want, but here is a suggestion:
• rust for 2 wings in a leaf-ish shape (2 3/4" long/1 1/4" at widest point)
• orange for the beak (3/4" wide x 7/8" tall)
• dark brown for the face/ears (2 3/4" wide x 1 1/2" tall at highest point)
• turquoise for 2 large eye circles (1 1/4" round)
• mustard for 2 small eye circles (7/8" round)
(Your measurements may differ, depending on pinecone size & your preference, but I've listed them anyway, as a guideline.)
The shapes are so forgiving, & it doesn't have to be perfect.
Just get out your scissors & cut!
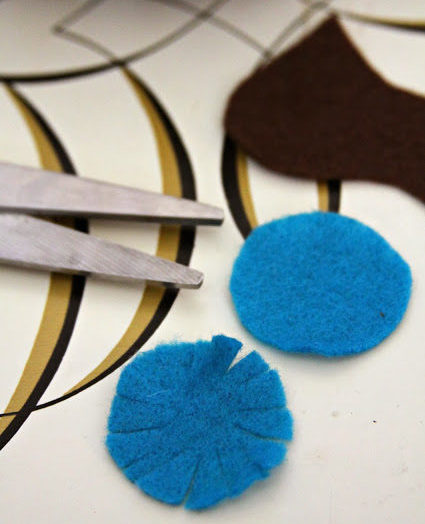
Snip the largest eye circles all the way around, as pictured in the slideshow.
Next, attach the beak to the face with hot glue.
Now, stack the pieces in this order & use a stapler to keep it all together. (I have 25 minutes to do this craft with a handful of 9 year olds. I was trying to think of the quickest way to assemble without having to use glue.) And, honestly, my stapler did give me an attitude. So, if you're not pressed for time, use the hot glue gun!
Attach the googly eyes (or felt- or paper-made eyes) with hot glue.
TIP: apply the hot glue to the felt first, & then place the googly eyes on top of the glue. The tip of the hot glue gun can melt the back of the googly eyes & cause a googly mess.
Finally, attach the face & wings to the pinecone with more hot glue.
Thank you to Nikki at Whimsy Love >>